
NCLEX Reduction of Risk Potential
On this page
Where this fits in the test plan
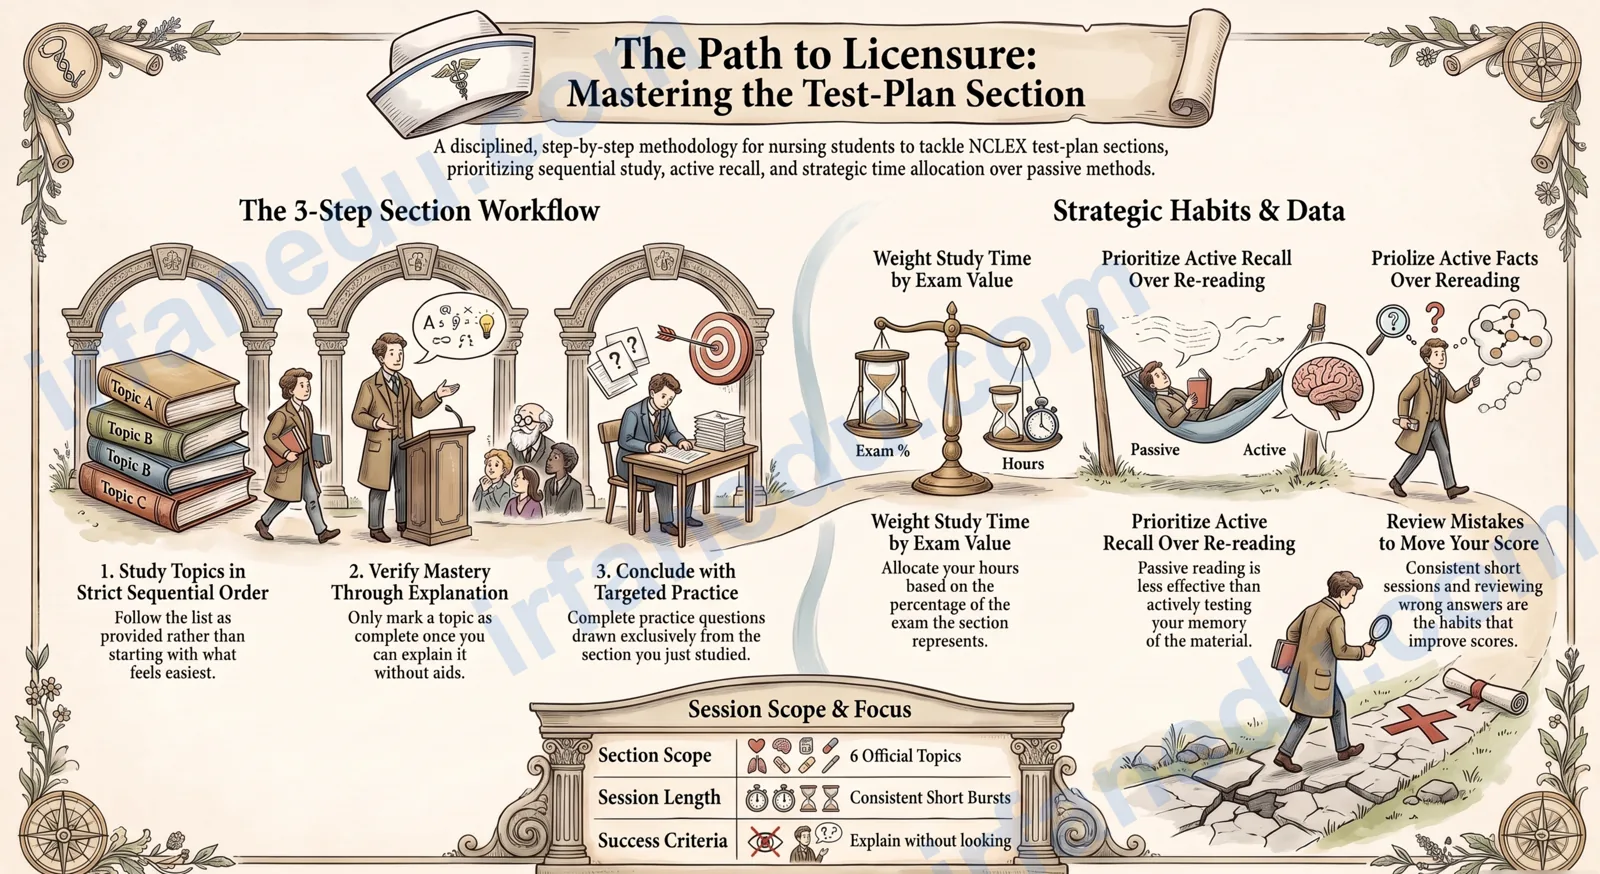
Reduction of Risk Potential is about 12% of the items you will see. That percentage is worth taking literally when you plan revision time: a category at 12% deserves roughly 12% of your question practice, not equal time with everything else.
| Topic | Focus | Study time |
|---|---|---|
| Interpreting Laboratory Values high yield | Which number, which action | 14 min |
| Diagnostic Tests and Procedures | Before, during and after | 13 min |
| Vital Signs and Early Warning | Recognising deterioration before it declares itself | 11 min |
| Recognising Complications high yield | The findings that mean act now | 13 min |
| Perioperative Nursing | Preparation, positioning and recovery | 12 min |
| Tubes, Drains and Monitoring Devices | Chest tubes, nasogastric tubes and catheters | 12 min |
Interpreting Laboratory Values
Which number, which action
The exam does not ask you to recite ranges. It gives you a value and asks what to do. Knowing the range is only step one; step two is knowing which finding it predicts.
Subtopics: Electrolytes · Haematology · Renal and hepatic · Cardiac markers · Drug levels
Potassium drives the ECG
High potassium gives peaked T waves and a widened QRS. Low potassium gives flat T waves, U waves and increases digoxin toxicity risk.
Sodium drives the neurological examination
Both hyponatraemia and hypernatraemia present with confusion and seizures. The correction must be slow in either direction.
Creatinine over BUN
BUN rises with dehydration, GI bleeding and high protein intake as well as kidney disease. Creatinine is the more specific renal marker.
Trend beats snapshot
A haemoglobin of 9 that was 12 yesterday matters far more than a stable haemoglobin of 9.
High-yield points
- Report a potassium under 3.0 or over 5.5 before the next dose of anything cardiac.
- An absolute neutrophil count under 500 means neutropenic precautions and immediate reporting of fever.
- Platelets under 50,000 mean bleeding precautions; under 20,000 means spontaneous bleeding risk.
- Troponin is the most specific marker of myocardial injury.
- BNP over 100 supports a cardiac cause of dyspnoea.
- A vancomycin trough is drawn immediately before the next dose.
- Check the digoxin level and the potassium together when toxicity is suspected.
Diagnostic Tests and Procedures
Before, during and after
Procedure items follow a template: what to check before, how to position during, and what to monitor after. Learn the template and the specific risk for each test.
Subtopics: Contrast studies · Endoscopy · Lumbar puncture · Biopsy · Cardiac catheterisation
Contrast studies
Ask about shellfish and iodine reaction and check renal function. Hold metformin before and for 48 hours after. Encourage fluids afterwards to clear the contrast.
Lumbar puncture
Position curled on the side. Afterwards keep the client flat, encourage fluids and watch for headache, which is the most common complication.
Endoscopy
Nil by mouth beforehand. Afterwards, no food or fluid until the gag reflex returns. Watch for bleeding, fever and severe pain, which suggest perforation.
Cardiac catheterisation
Afterwards keep the extremity straight, monitor the site for bleeding and haematoma, check distal pulses and encourage fluids to clear contrast.
High-yield points
- After a liver biopsy, position the client on the right side to apply pressure to the site.
- After a thoracentesis or paracentesis, watch for a drop in blood pressure and for respiratory change.
- After bronchoscopy, check the gag reflex before offering anything by mouth.
- A stress test requires no caffeine, no smoking and often holding beta blockers beforehand.
- Before an MRI, screen for pacemakers, implants, metal fragments and claustrophobia.
- Cardiac catheterisation clients often feel a warm flushing sensation with contrast; this is expected.
Vital Signs and Early Warning
Recognising deterioration before it declares itself
Deterioration is nearly always visible in the vital signs before the client looks unwell. Rising respiratory rate and rising heart rate with a falling urine output is the classic early pattern.
Subtopics: Trends vs single readings · Shock recognition · Orthostatic vitals · Pulse oximetry limitations
Respiratory rate is the earliest sign
A rising respiratory rate is often the first measurable indicator of deterioration, well before blood pressure falls.
Compensated shock
Tachycardia, narrowed pulse pressure, cool clammy skin and falling urine output with a still-normal blood pressure. Hypotension is a late sign.
Orthostatic measurement
Measure lying, then sitting, then standing after one to three minutes. A drop of 20 mmHg systolic or 10 mmHg diastolic, or a rise of 20 beats per minute, is positive.
Pulse oximetry limits
Unreliable with poor perfusion, cold extremities, nail polish, movement and carbon monoxide poisoning, where the reading is falsely reassuring.
High-yield points
- Never treat the number without looking at the client.
- A widening pulse pressure with bradycardia suggests rising intracranial pressure.
- In children, hypotension is a very late sign; watch heart rate, capillary refill and mental status.
- Take an apical pulse for a full minute for any irregular rhythm or before digoxin.
- Fever raises the heart rate by roughly 10 beats per minute per degree Celsius.
- Use the correct cuff size; a cuff that is too small gives a falsely high reading.
Recognising Complications
The findings that mean act now
This topic is a catalogue of patterns where a specific combination of findings must trigger a specific immediate action. These make excellent flashcards.
Subtopics: Post-operative complications · Pulmonary embolism · Compartment syndrome · Sepsis
Pulmonary embolism
Sudden dyspnoea, pleuritic chest pain, tachycardia, anxiety and hypoxaemia. Raise the head of the bed, give oxygen, and notify immediately.
Compartment syndrome
Pain out of proportion and unrelieved by opioids, pain on passive stretch, paraesthesia, and later pallor and pulselessness. Remove constricting dressings and notify at once. Never elevate above heart level.
Sepsis
Fever or hypothermia, tachycardia, tachypnoea, altered mental status and a falling blood pressure. Obtain cultures then give antibiotics quickly, plus fluids.
Fat embolism
Occurs 24 to 72 hours after a long bone fracture. Dyspnoea, confusion and a petechial rash across the chest and axillae.
High-yield points
- Sudden dyspnoea after immobility, surgery or a fracture points at embolism until proved otherwise.
- Pain unrelieved by opioids after a cast is compartment syndrome until proved otherwise.
- New confusion after surgery in an older adult may be hypoxia, infection or medication effect, and needs assessment, not sedation.
- Evisceration: cover the wound with sterile saline-soaked gauze, position with knees flexed, and call the surgeon. Do not push the tissue back.
- Paralytic ileus presents with absent bowel sounds, distension and no flatus after surgery.
- A firm, tender, warm calf with unilateral swelling suggests deep vein thrombosis; do not massage it.
Perioperative Nursing
Preparation, positioning and recovery
Perioperative items reward the answer that verifies before the client leaves the unit, and the answer that protects the airway on arrival in recovery.
Subtopics: Pre-operative teaching · Consent and checklist · Post-anaesthesia recovery · Wound healing
Pre-operative verification
Consent signed, allergies documented, nil by mouth status confirmed, jewellery and prostheses removed, site marked, baseline vital signs recorded, and medications reviewed.
Pre-operative teaching
Teach coughing, deep breathing, incentive spirometry, leg exercises and splinting before surgery, when the client can learn. Pain control expectations are set at the same time.
Recovery priorities
Airway first, then breathing, then circulation, then level of consciousness, then the surgical site and pain.
Wound healing
Dehiscence is separation of the wound edges; evisceration is protrusion of organs. Both are emergencies and both are more likely with obesity, poor nutrition, infection and straining.
High-yield points
- If the client cannot describe the procedure, stop and call the provider before transfer.
- The most common early post-anaesthesia complication is airway obstruction from the tongue.
- Encourage incentive spirometry ten times an hour while awake to prevent atelectasis.
- Low-grade fever in the first 48 hours usually means atelectasis; later fever suggests infection.
- Check for return of the gag reflex before giving anything by mouth.
- Protein and vitamin C support wound healing; ask about intake in a client with poor healing.
- Sequential compression devices and early ambulation prevent venous thromboembolism.
Tubes, Drains and Monitoring Devices
Chest tubes, nasogastric tubes and catheters
Device items ask what is expected, what is a problem, and what to do if the device fails. Chest tubes are the highest-yield device on the exam.
Subtopics: Chest tube management · Nasogastric tubes · Urinary catheters · Tracheostomy care
Chest tube findings
Tidalling with respiration is expected. Continuous bubbling in the water seal chamber means an air leak. Sudden absence of tidalling may mean an obstruction or lung re-expansion.
Chest tube emergencies
If the tube disconnects, place the end in sterile water. If it is pulled out, cover the site with a dressing taped on three sides. Never clamp a chest tube for more than a moment.
Nasogastric tubes
Verify placement radiographically after insertion, then check pH and markings before each use. Do not rely on auscultation alone. Elevate the head of the bed for feeding.
Urinary catheters
Keep the bag below the level of the bladder and off the floor, maintain a closed system, and remove as early as possible to reduce infection.
High-yield points
- Keep the chest drainage unit below the level of the chest at all times.
- Never strip or milk a chest tube unless specifically ordered.
- Check nasogastric residual and hold or adjust feeding per policy if it is high.
- Stop a tube feeding immediately if the client coughs, chokes or desaturates.
- For a new tracheostomy, keep an obturator and a spare tube of the same size at the bedside.
- Suction a tracheostomy only on withdrawal, for no longer than ten seconds, and hyperoxygenate first.
More NCLEX practice and review
Everything on this site tagged NCLEX lives in the NCLEX category.